Windows operating system is one of the popular OS in the world right now. What the things come with a Windows OS is vast, and we have been using this OS since the day when we got access to the PC. Every version from Microsoft has one problem, or you can say that the Microsoft never thought to make a tool to resolve it.
We are talking about the data recovery process. We aren’t talking about recovering the Windows OS but the data itself. It might be possible that the Microsoft is leaving this task to the non-Win team developers to come up with a solution.
EaseUS Data Recovery Wizard?
Microsoft has placed their bets on the right people, and we have a Windows, Linux, and Mac program that enables you to get rid of the word “impossible” word out of the dictionary.
Free data recovery software program helps you to recover your data even after Deleting it, Formatted and Lost data from your PC or Laptop. Its a freeware, which means you can use it with some limitations.
*1 Installation & Setup
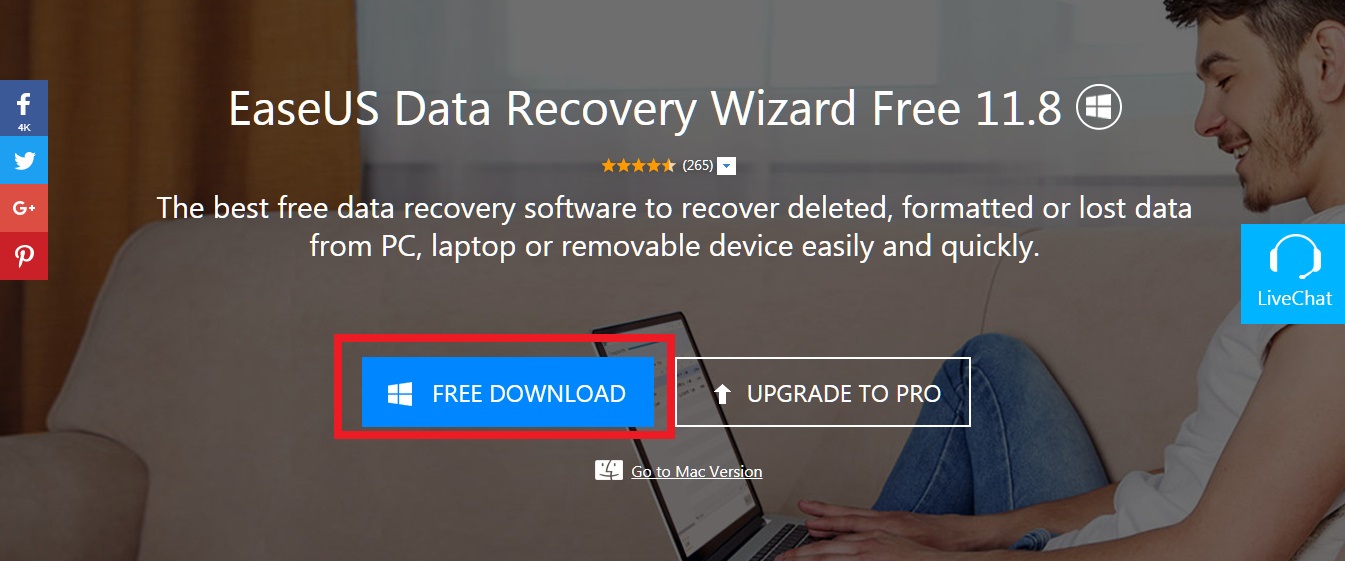
If you are a newbie, then this is for you, and it will be a quick setup. Before we move on, download the program from the official site.
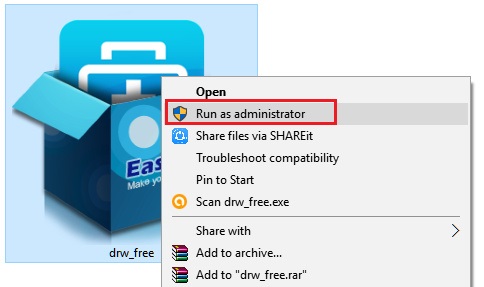
Step 1: You have to locate the downloaded program and Run it as Administrator.
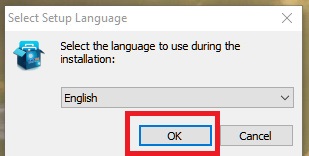
Step 2: Now click on “Okay.”
Step 3: Now “Next.”
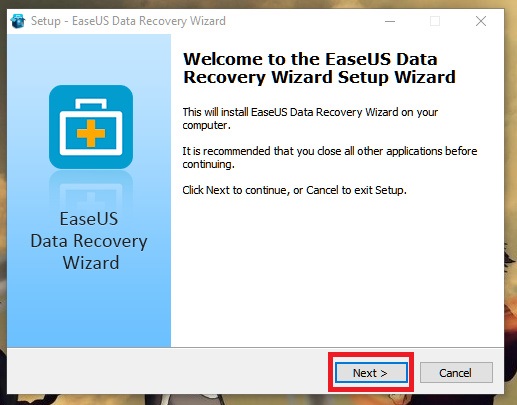
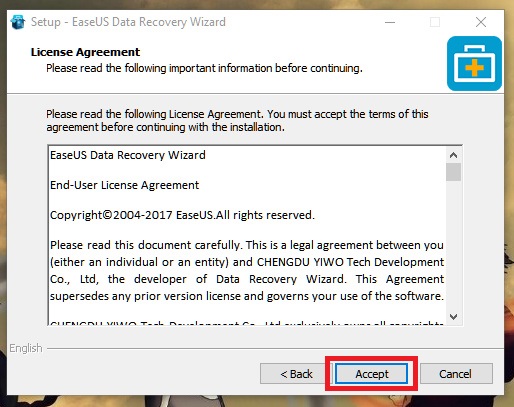
Step 4: Read the terms and conditions and Accept to proceed.
Step 5: Remember, you have to Install the program, which you don’t want to recover or it won’t work. Click Confirm to proceed.
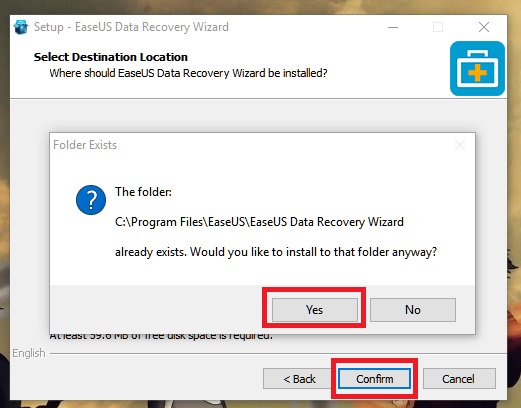
Step 6: Click on YES if you agree.
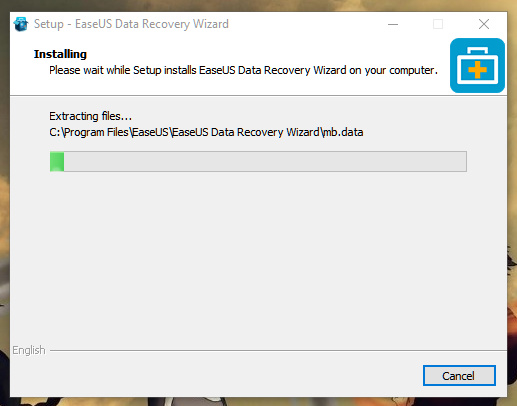
Step 7: The installation will begin, and it will be installed within a matter of moments.
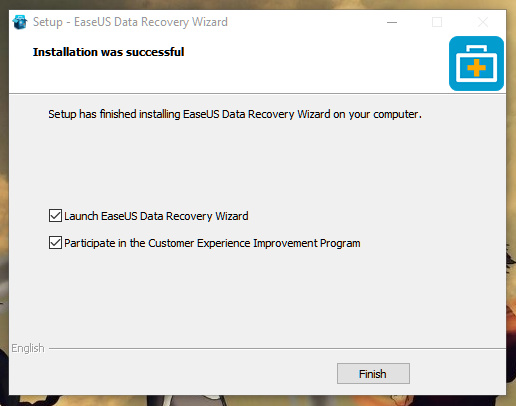
Step 8: There you have EaseUS recovery data tool installed successfully.
*2 Recover Data
Recovering data using this free tool is incredibly easy, and you will be able to do it within a matter of minutes. The process also depends on the data size and number of files.
Step 1: Launch the program from your desktop menu.
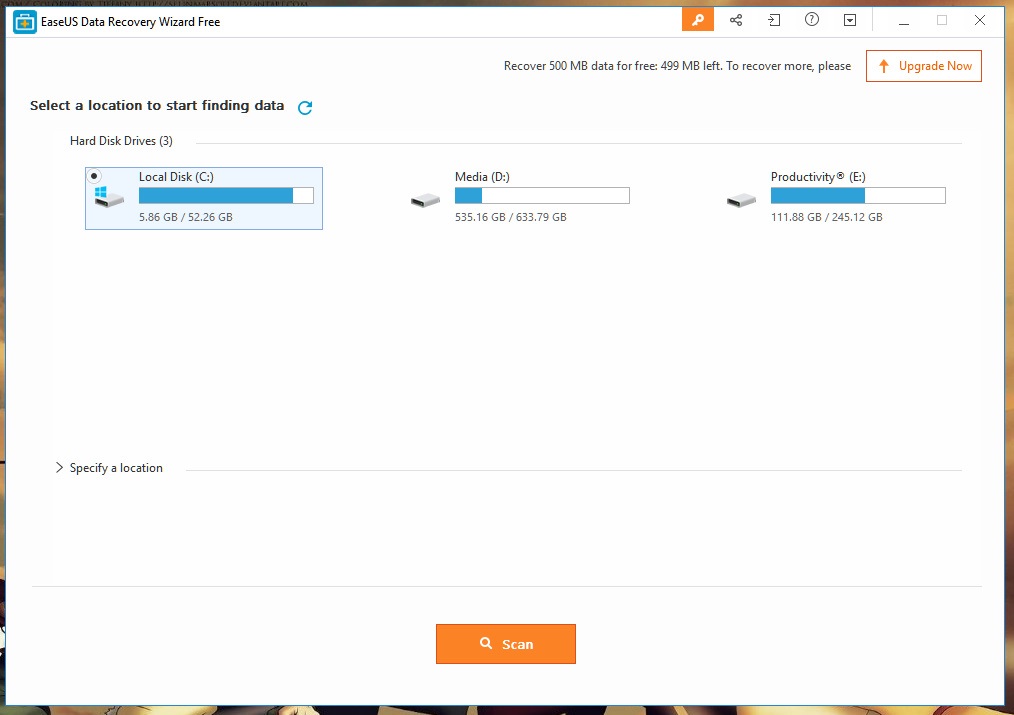
Step 2: The number devices connected to your PC and partitions will be on the screen.
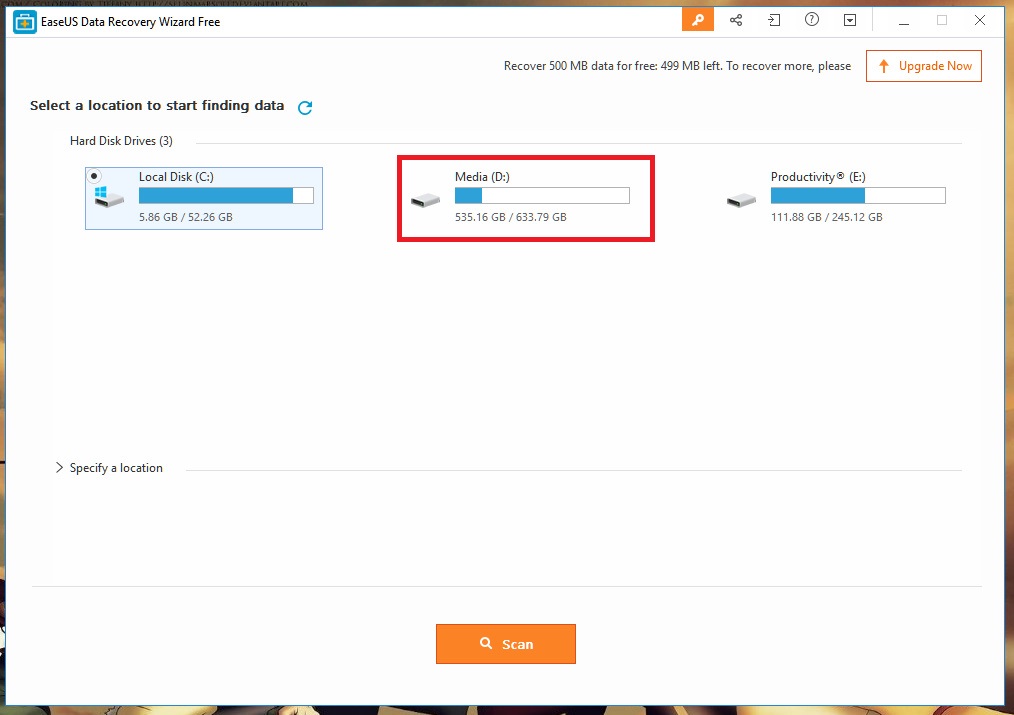
Step 3: You have to select a partition of a folder within the device or partition. You have to double-click on the partition to select a folder.
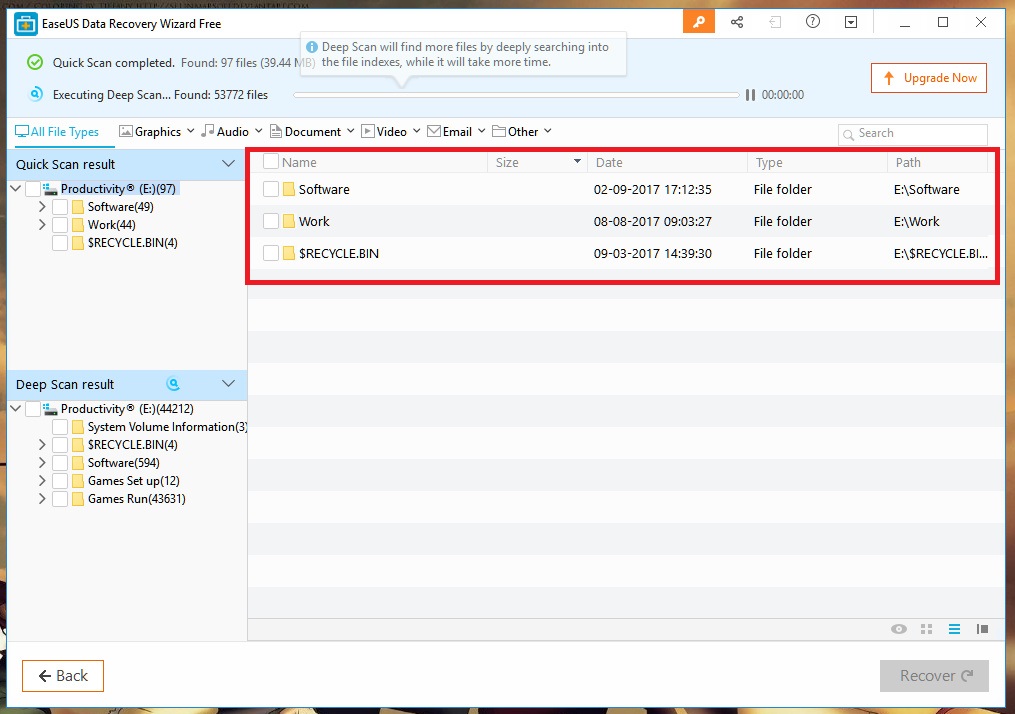
Step 4: The whole partition will be scanned for available data to be recovered. Folders will be visible every time the tool detects one.
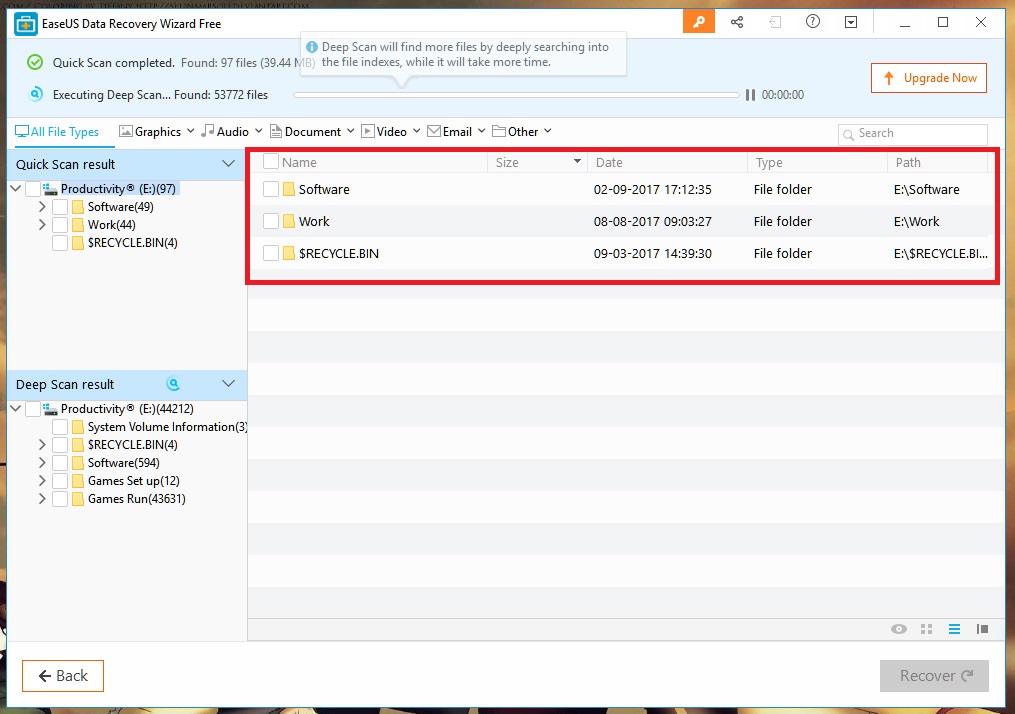
Step 5: You can select the folder and start recovering the data.
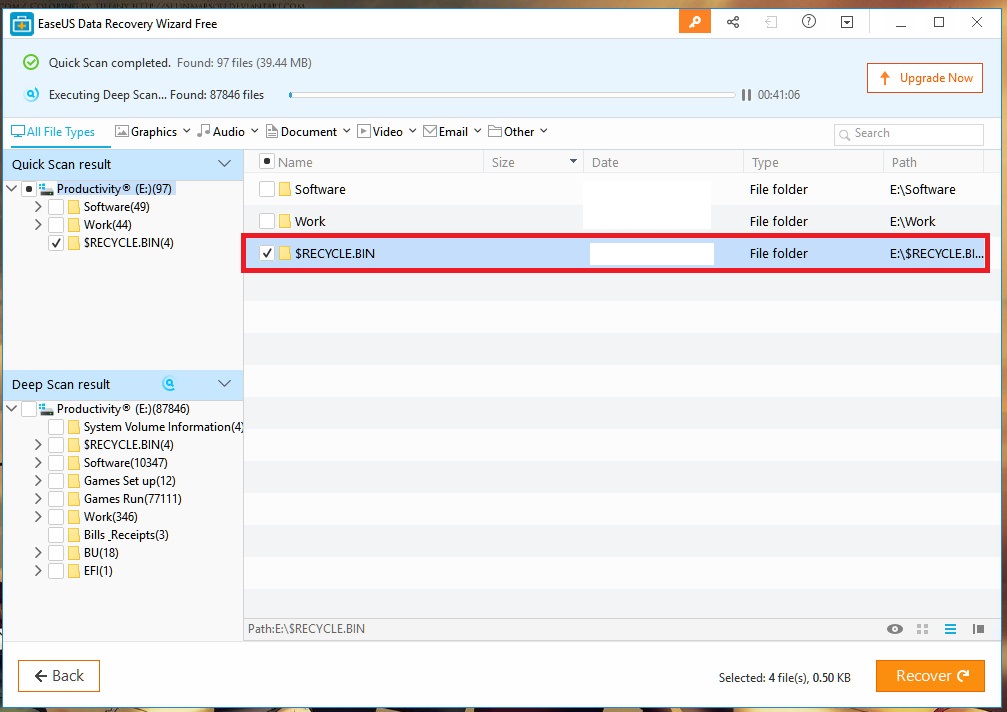
Step 6: You can also check the contents that the folder has in it. You have to double-click the folder to check its content, and you can even recover the one you need and while deselecting the others. You have an option to do so, so why wait now?
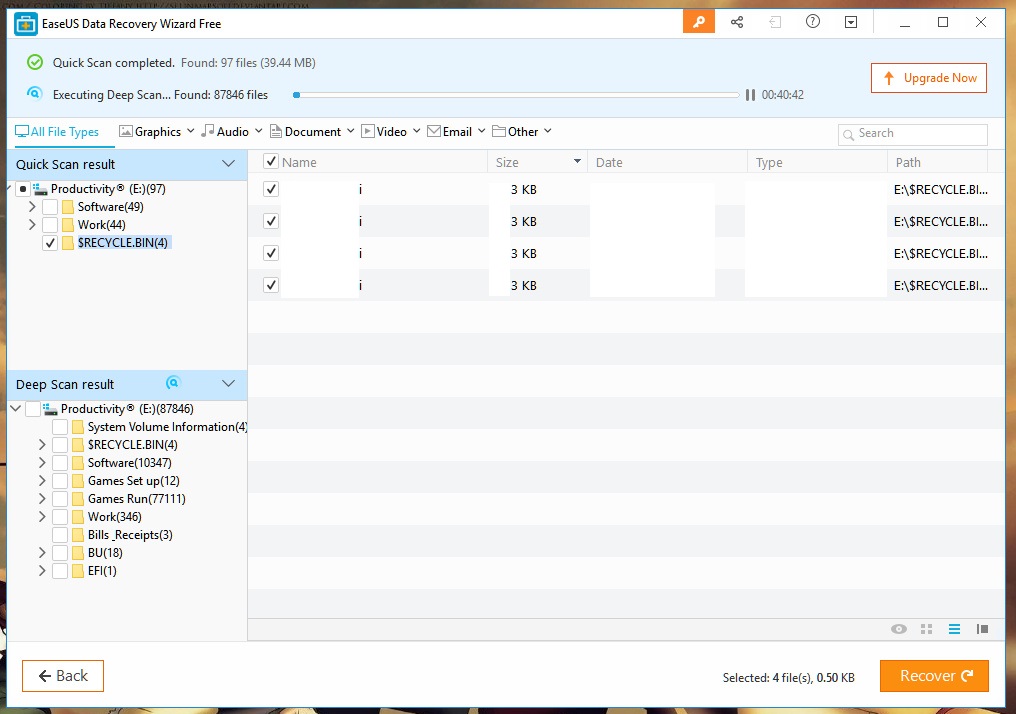
The recovering speed is good, and it takes time to save data. Remember, the improving speed will also depend on your PC-hardware if your PC configuration is little, then you have to face slow recovery rate.
*3 Other Important Features
We have shown you the basics on how to operate it and how to get things done. To make it easy, we have excluded options, which are extremely useful. We are going to cover it now.
1: in case, the scanning takes more than few minutes, you can stop it anytime, but most of the programs won’t show you the results. However, EaseUS will show you the results it was able to scan so far.
Click on the stop button.

Click on the partitions to check the content scanned before your stopped.
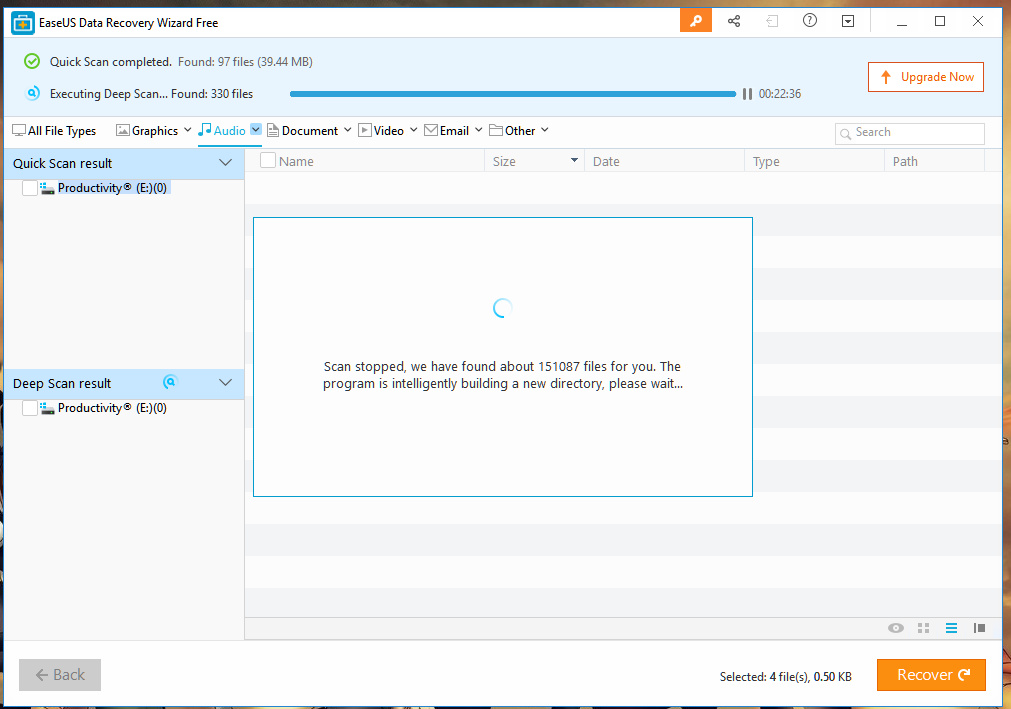
2: As you know that in the recovery, you will various types of file format, which can be a little frustrating to find.
![]()
If you are one of those, then you can click on the Graphics, Audio, Document, Videos, Email, and Other. The filters will show you only the results you want to see, which is an interesting feature for someone like me.
3: You can share this program with your friends. The second one to load sessions, where you can load previously scanned files.

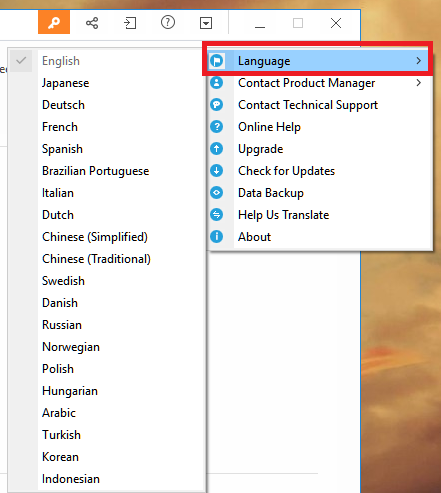
The video tutorials will help you how to use it and everything you need to know about the program. You can view MORE for settings, select languages, and more.
Conclusion
We know that someone you may encounter problems, questions or doubts, which we can answer for you by commenting down below.


