 Today we are explaining the easiest ways of extracting all images from a MS Word document (widely used software for business, project, seminar, notes work) with and without a third party software
Method one simplest
Using Paint
- All you have to do is just select pictures to be copied, right click and select copy option
- Now open paint and press SHIFT+INSERT the image will be pasted, after this trim it if required
- Select SAVE and choose the the extension like jpeg, png etc
Here is how you can turn your laptop into a wifi hotspot quickly
Method two
Extract all images in the document
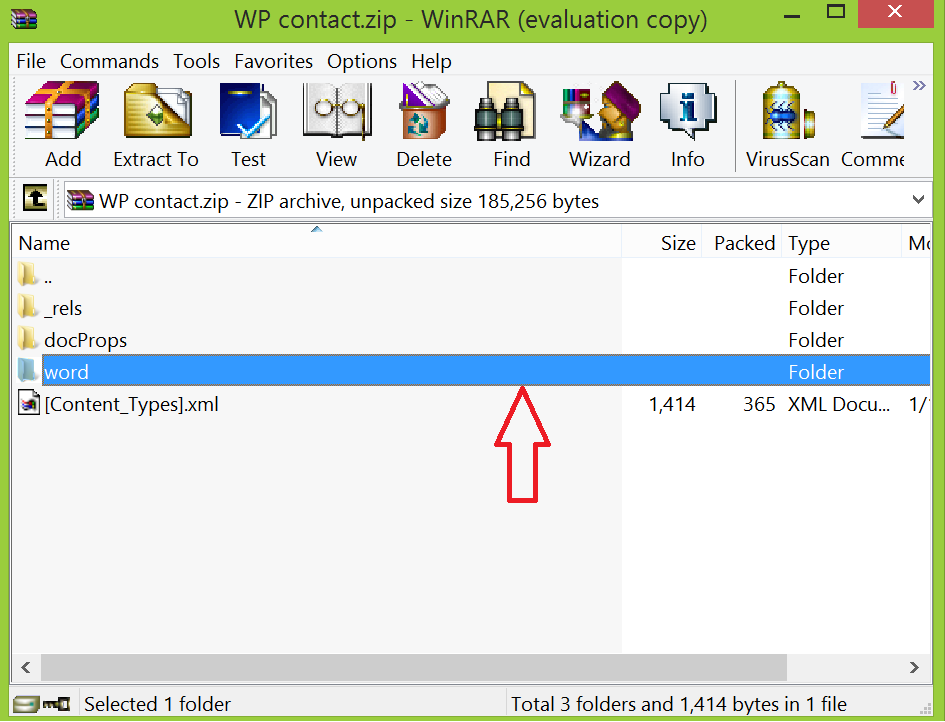
- Select the DOCX, PPTX, XLSX file and just rename it into .ZIP, take care the file should be saved as docx not doc
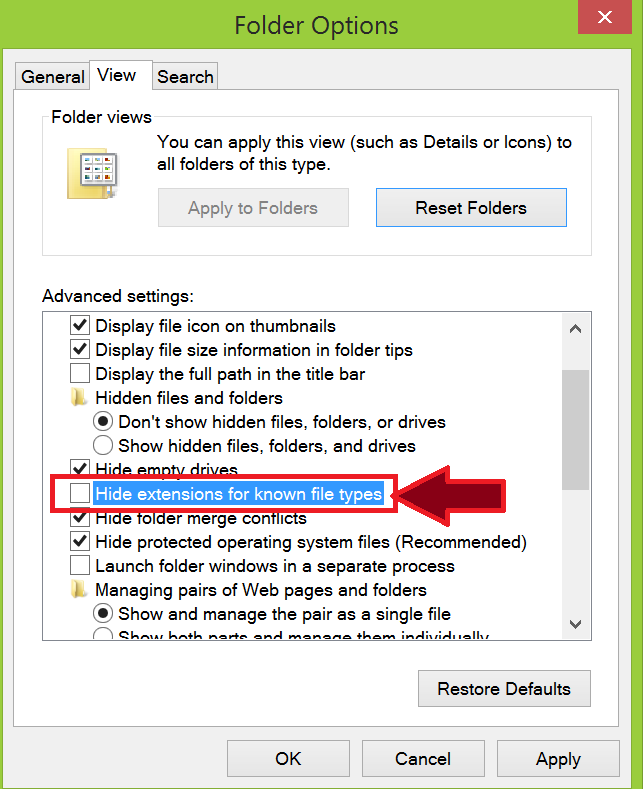
- For example, sample.docx to sample.zip, some version of the windows may not be showing the file extension and for this you have to navigate like Start>Control Panel>Appearance and Personalization>Folder Options>View>Advanced settings and unmark it, check the image below for clarification
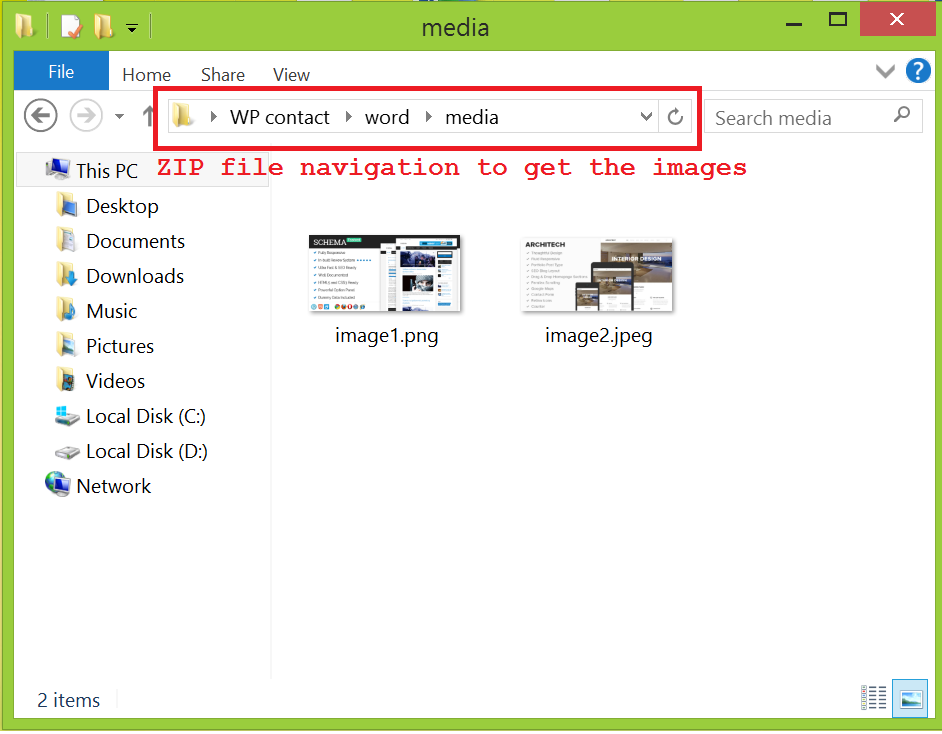
- Open up the zipped archive there you can find a folder named as “Media”
- Open it, you can find all the images used in that document, extract that folder. Rename pictures accordingly or leave as it is ( by default the names will be image1, image2 etc)
- Now rename zip file back to its original format that is docx
Method three
Create an extra copy of the word file just as a precaution if you mess things up
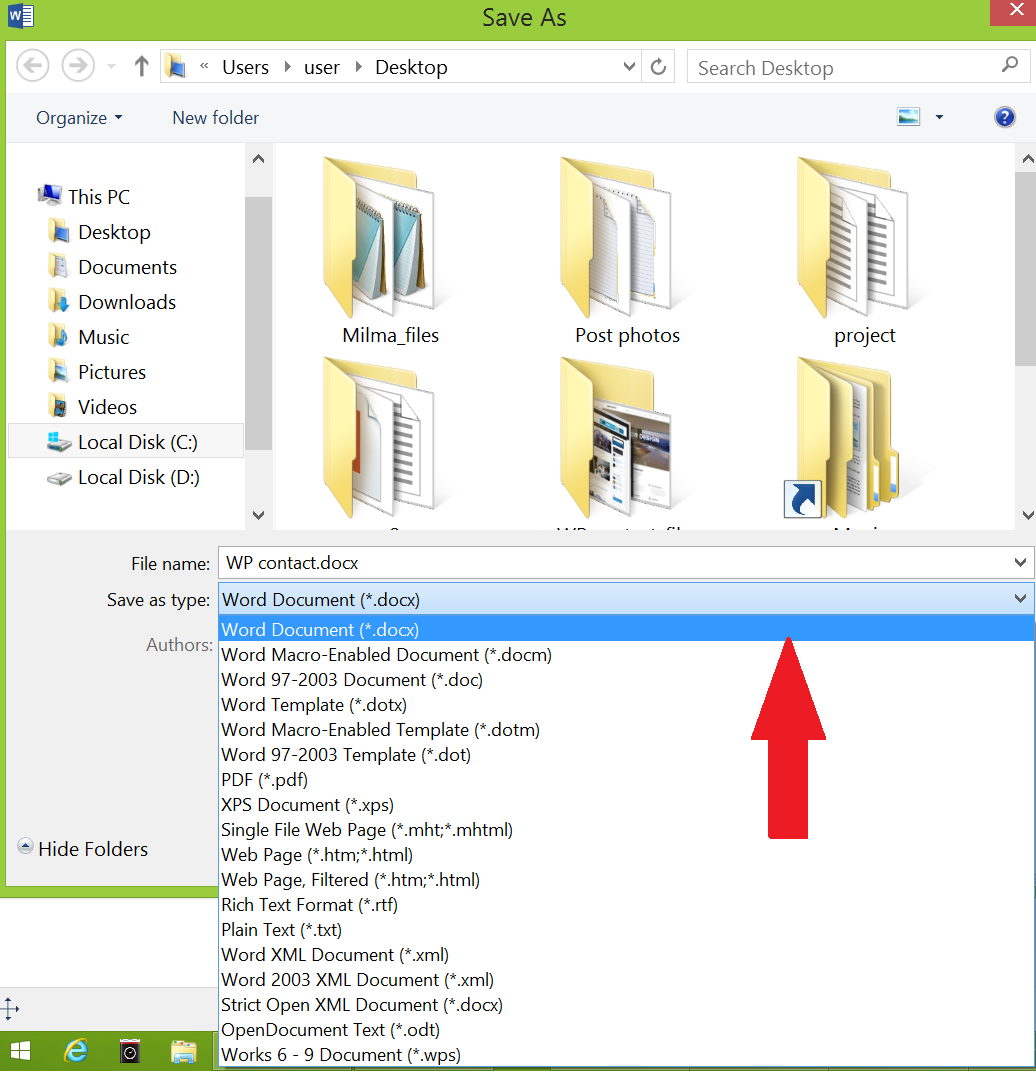
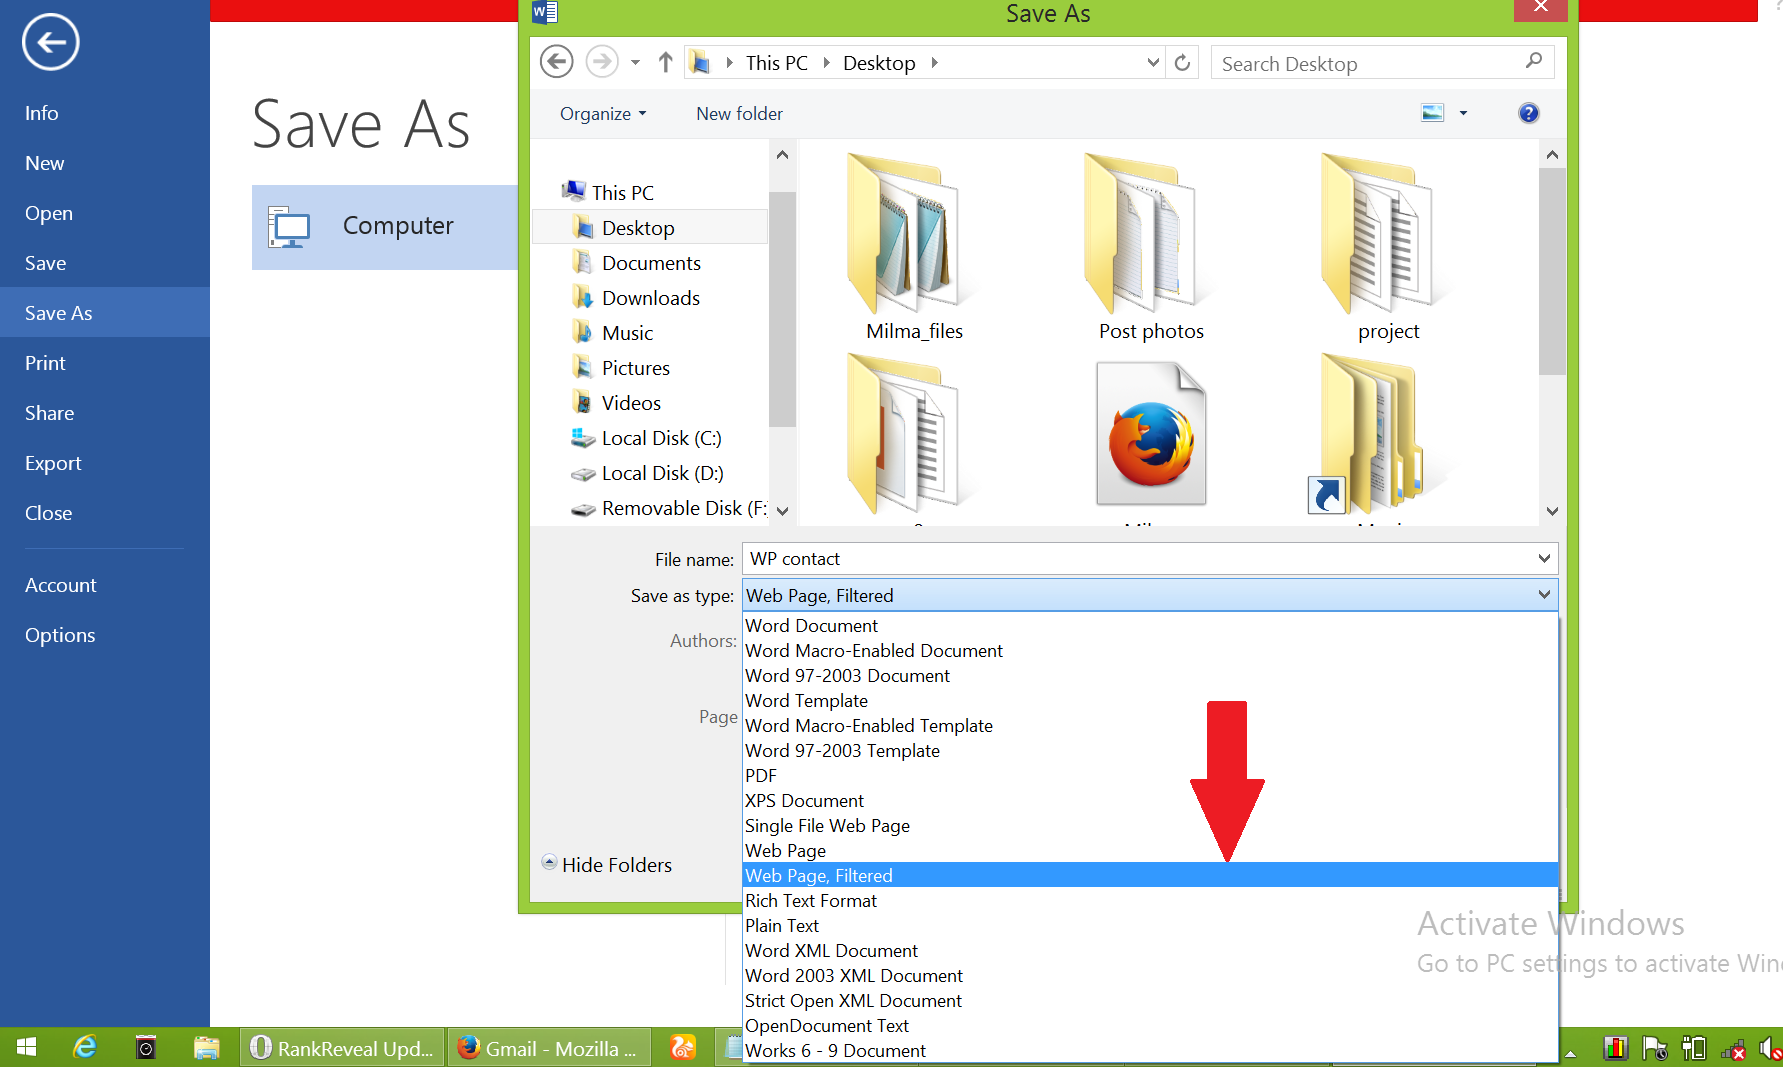
- Open the office file (from where you need all the images) just choose SAVE AS option and choose “Web Page , Filtered“, select location and hit “Save“, done
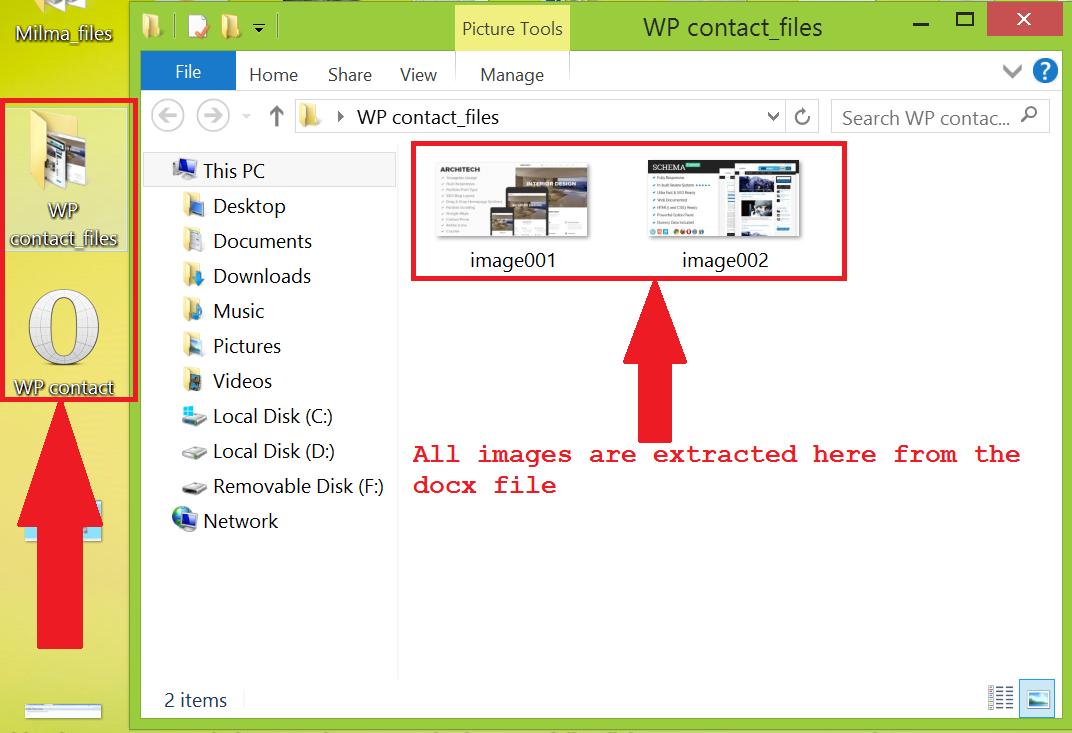
- Now go to the saved location, you can find a folder with name same as that of original file, same like the above method open the folder and you see every pictures
Use any of the above trick to save a lot of time.
Do you know any other method which is simpler than the ones mentioned above then drop it in the comment section and we will be happy to add it with credit to you
