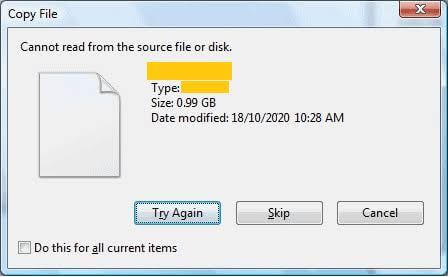
Can’t read from the source file or disk error occurs when you copy a file or folder from a corrupted hard drive like a thumb drive, pen drive, or external hard disk onto your computer. Trying to open these files can be very frustrating, but do not worry. We are here to tell you all the solutions that can help you with the problem “How to fix can’t read from the source file or disk error.” Now let us take a look at how we can fix this error. Remember, if you can not find the answer to the first few solutions, move on to the next solution. So let’s begin.
Contents
Solution 1
Can’t read from the source file or disk error mainly occurs when the externally connected device is not working correctly. Your external device might be corrupted or damaged. So if you get this issue while transferring the files between your device and PC, first of all, disconnect your device, let us say your smartphone, and then restart your device. After that, again connect the smartphone to your PC, and view the file. And you might see that the file opens without any issue. Well, this happens rarely, so this might not work for you, but if it did, that’s excellent news. If you are still having the issue, let’s try the next solution.
Solution 2
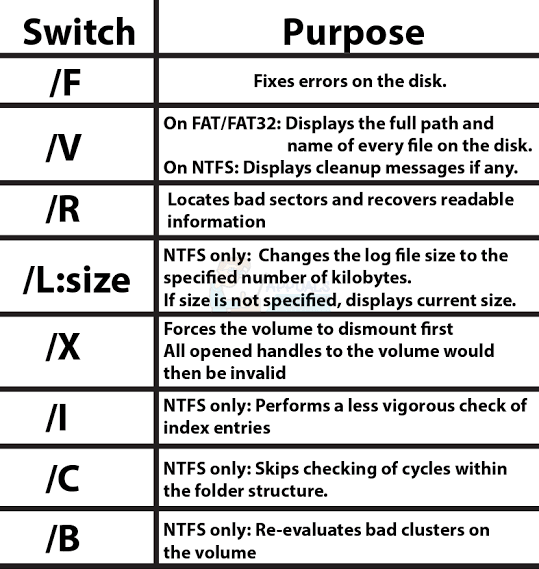
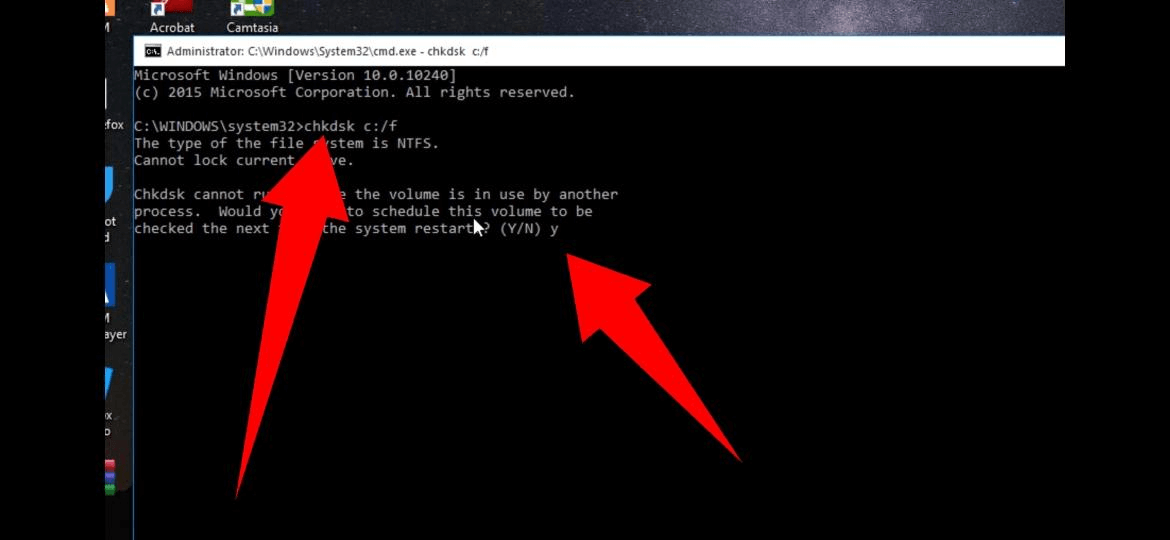
Open your Command prompt if you’re getting the same error when you open or copy the files between your local disk. Command prompt is the most effective way to recover your files. After opening the Command prompt, you need to run the command in the administrator mode; that’s very important. In the administrator mode, type the command “chkdsk c: /r /f /x” and press Enter. After this, you will find that the command is executed successfully. Then the PC will ask you to restart. After that, enter Y. After running these commands, do not forget to restart your PC and wait for a few seconds.
After a few seconds, when you turn on your PC, you will find that the Automatic repair tool will start checking your local disk. This process may take some time, maybe even upto 24 hours, depending on drive size and related issues within the drive. Once the checking process is completed, copy that same file. Hopefully, this time your file will successfully get copied from one local disk to another and open without any error.
Solution 3
Before you start this solution, you need a software called the Recover Data option software. It is from the same family as CCleaner and is designed by Piriform Recuva. So you need to download and install the Recovery Data software. After you have installed the software, follow the following instructions.
First, go to the source of the file showing the error. After this, you need to delete the file showing the error. After that, open the Recover Data software. Then choose the type of corrupted file like videos, images, etc. From the dropdown, click on the drive that you want to scan. After this, click scan. After scanning is over, you will find filenames will have varied colors like green, red, and orange. Red means that the file is damaged, and you cannot recover; green is somewhat recoverable, the orange file might recover or might not recover. Let’s hope that your file is not red or orange.
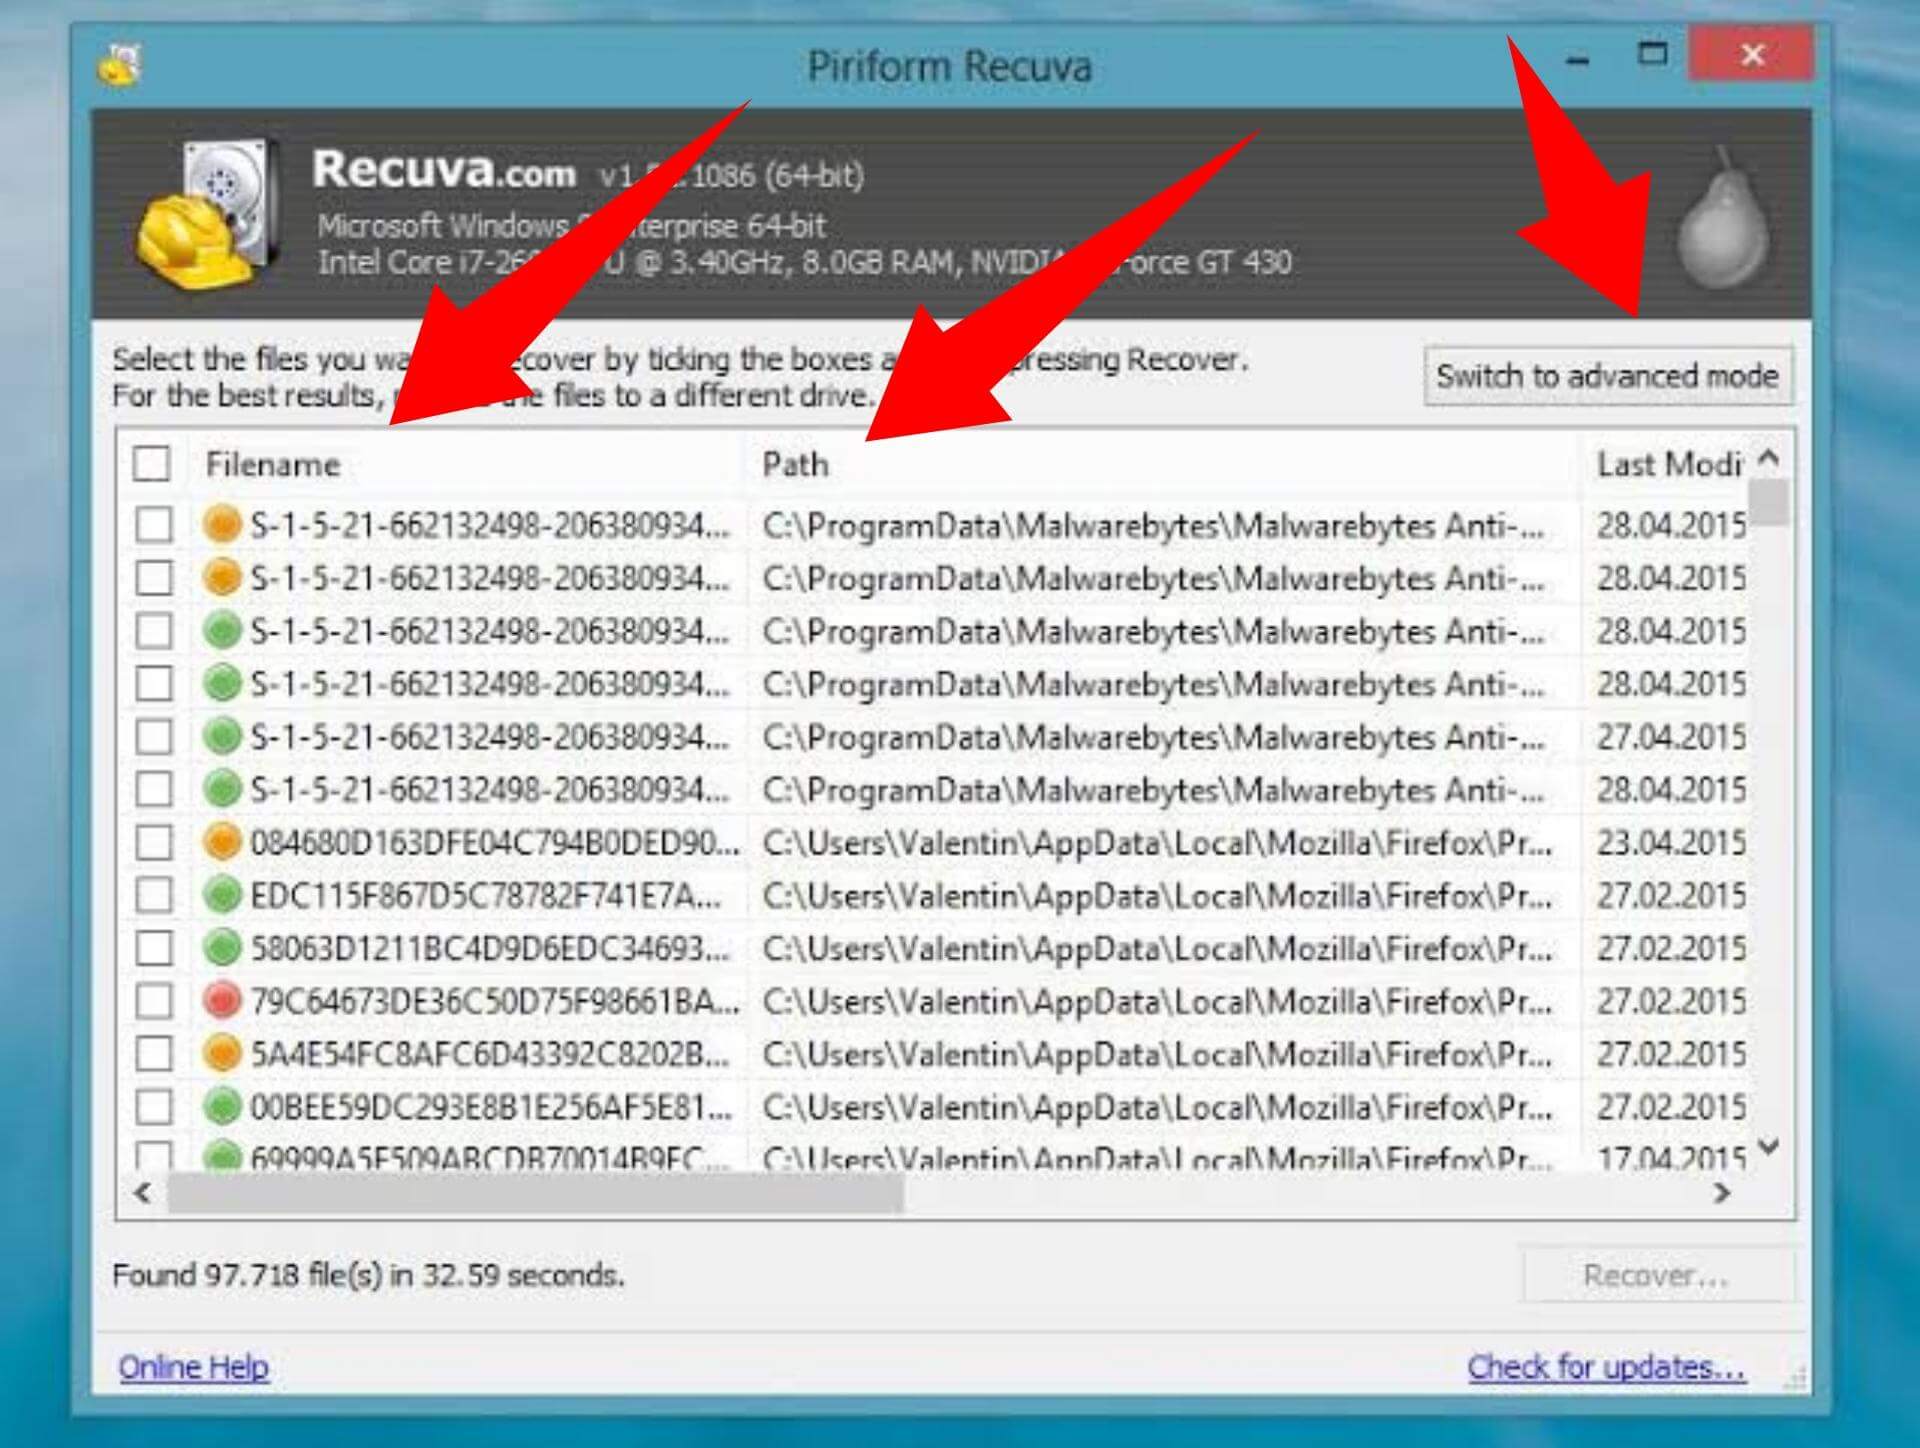
So, you will find the last file that you deleted at the top of filenames. After that, click on it and choose to recover; then, recover it to the folder you wish to recover. Healing will take some time, so you need patience for a while. After completing the process, you will get a notification if the file is recovered. Before we go and see if the file is recovered or not, be sure to choose the correct type of file that you are trying to recover. If you know the extension of your file, you can type it in the Filename. So, if the extension is not available in the drop down, you can order your extensions and recollect them.
After these solutions, we hope that your file gets recovered. We hope that you understand these solutions.
