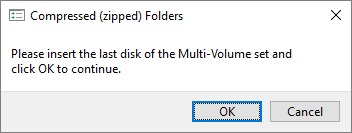
While compressed files come with a few benefits of easy file moving and sharing, they can cause corruptions that make them inaccessible. We can tell this problem occurred when “Insert the last disk” error shows up on your computer. Here we have a guide to fix this issue in this article.
Contents
What is ‘Please Insert the Last Disk of Multi-Volume Set’
Errors like these often occurs in various Windows versions. This problem emphasizes the lack of understanding of your computer in reading compressed folders. These compressed or zip folders problem can spread across all your drives or just one drive.
Solution 1: Retrieve Data and Reformat Your USB Flash Drive
In times like these, third-party tools can provide you with the best shot at resolving the insert last disk error. This solution consists of two stages to completely overcome the error we are dealing with. You have to be able to format your USB drive to remove all the harmful items that are causing this problem. However, formatting a drive also removes all your important files permanently. As a result, we will be using Tenorshare 4DDiG( copy paste this url : https://4ddig.tenorshare.com/ ). Keep in mind that there are other software that you can use for this method but we are using 4DDiG for the sake of this guide. Steps to forever get rid of this error is here:
- The first step is to install the 4DDiG on your windows computer. After that, run the data recovery program.
- After opening the software, connect your USB drive to your computer via USB.
- On 4DDiG, select the plugged-in USB drive for data recovery.
- You can double-click on the USB drive and a prompt will ask you to select the specific file type to recover. So select accordingly if you are specifically looking for a certain type of file or just select all options.
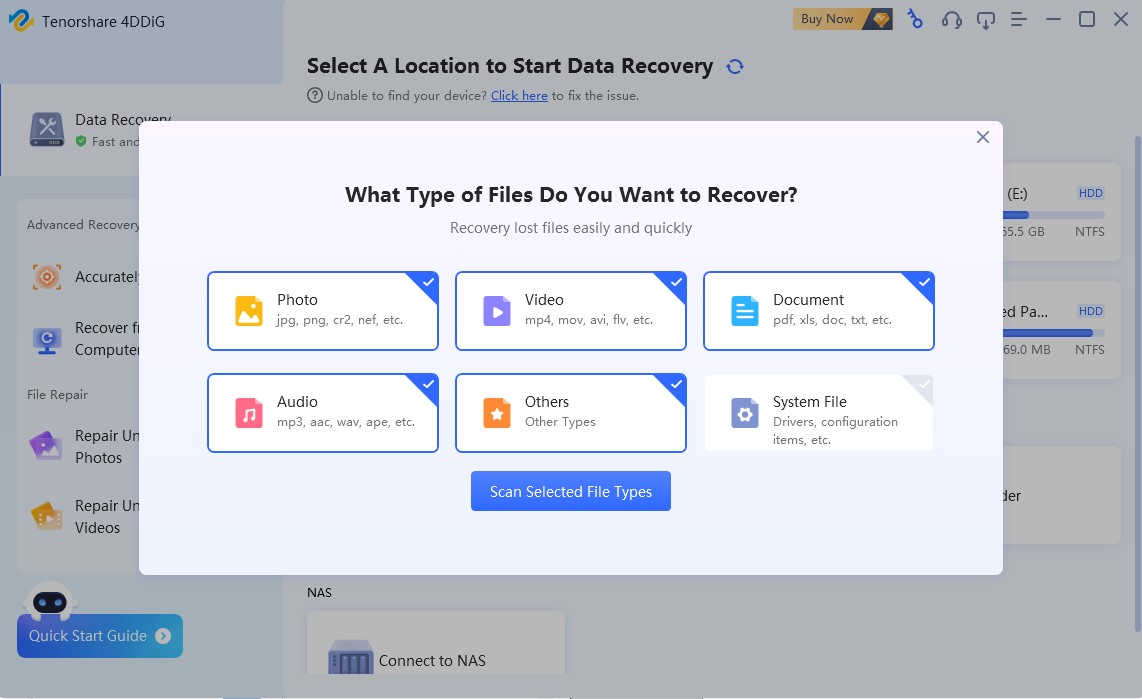
- 4DDiG will start scanning your drive and figure out all the lost data. After that, all the recovered items will be shown in the file view or tree view. Whenever you find your data back, you can halt the scanning.
- 4DDiG allows you to preview the recovered files so that you know what you are recovering. Select the file type and hit the recover option.
Now the next stage is to format your USB drive to fix the main error. Here is how you do it.
- Check if the USB drive is still connected, if not, then plug it in again to your computer.
- Right-click on the P: Drive (considering P: Drive is your USB Drive) and click on the “Format” option.
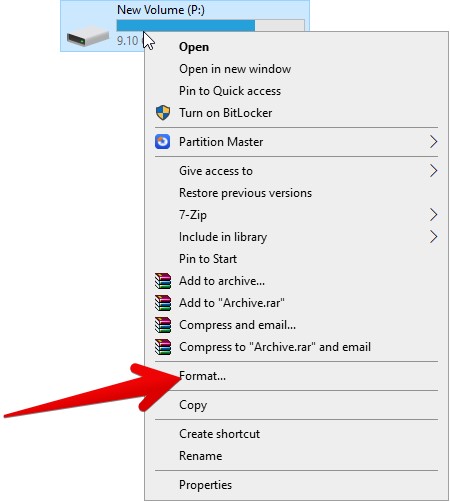
- The format window will open up. Now make sure that in the File System section, FAT32 is selected.
- Check the Quick Format options
- Hit on the Start button at the bottom and formatting will start.
The cause of the “insert the last disk” error often comes from the files that we do not see normally. The hidden files inside your USB drive may be the root cause of this problem. So it is essential to get rid of hidden files without harming your other files.
- Start by plugging in your USB drive if you haven’t.
- After that, double-click on my computer or File Explorer.
- Go to View located beside Home and Share options shown at the top of the screen.
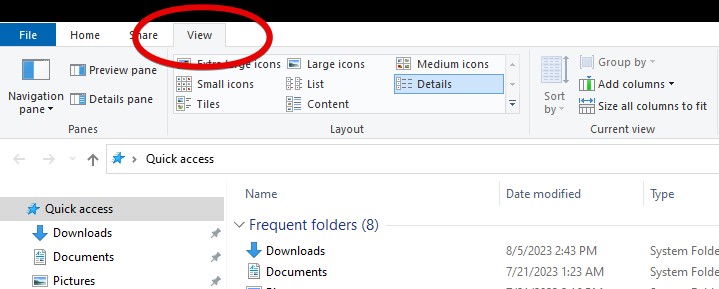
- Several options will be visible to you below the View option. Simply check on the “Hidden Items” options.
- Now go back to your USB drive and delete the .zip extension files.
- Now restart your system.
Solution 3: Run CMD
A quick cmd prompt fix can resolve this issue.
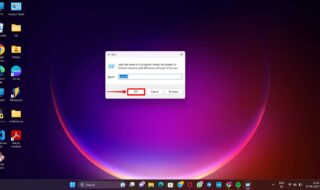
- Hit the shortcut keys Windows button + R to open Run Command.
- Open CMD using the Run Command by typing “CMD” in it.
- Run the in-built file-checking command in CMD: SFC /scannow.
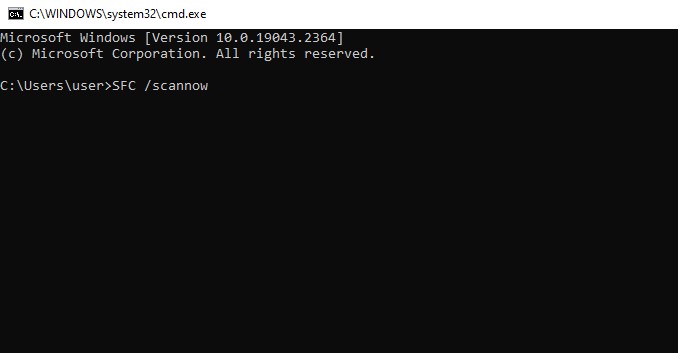
The scan usually takes quite a while as it checks your whole system. Moreover, it can take a lot more time if there are defects in your files.
Conclusion
Getting rid of Windows errors like this is easy for some and difficult for others. As there are lots of intricacies that can cause such issues, one solution cannot fit everyone. So try every solution and see which one works for you.


